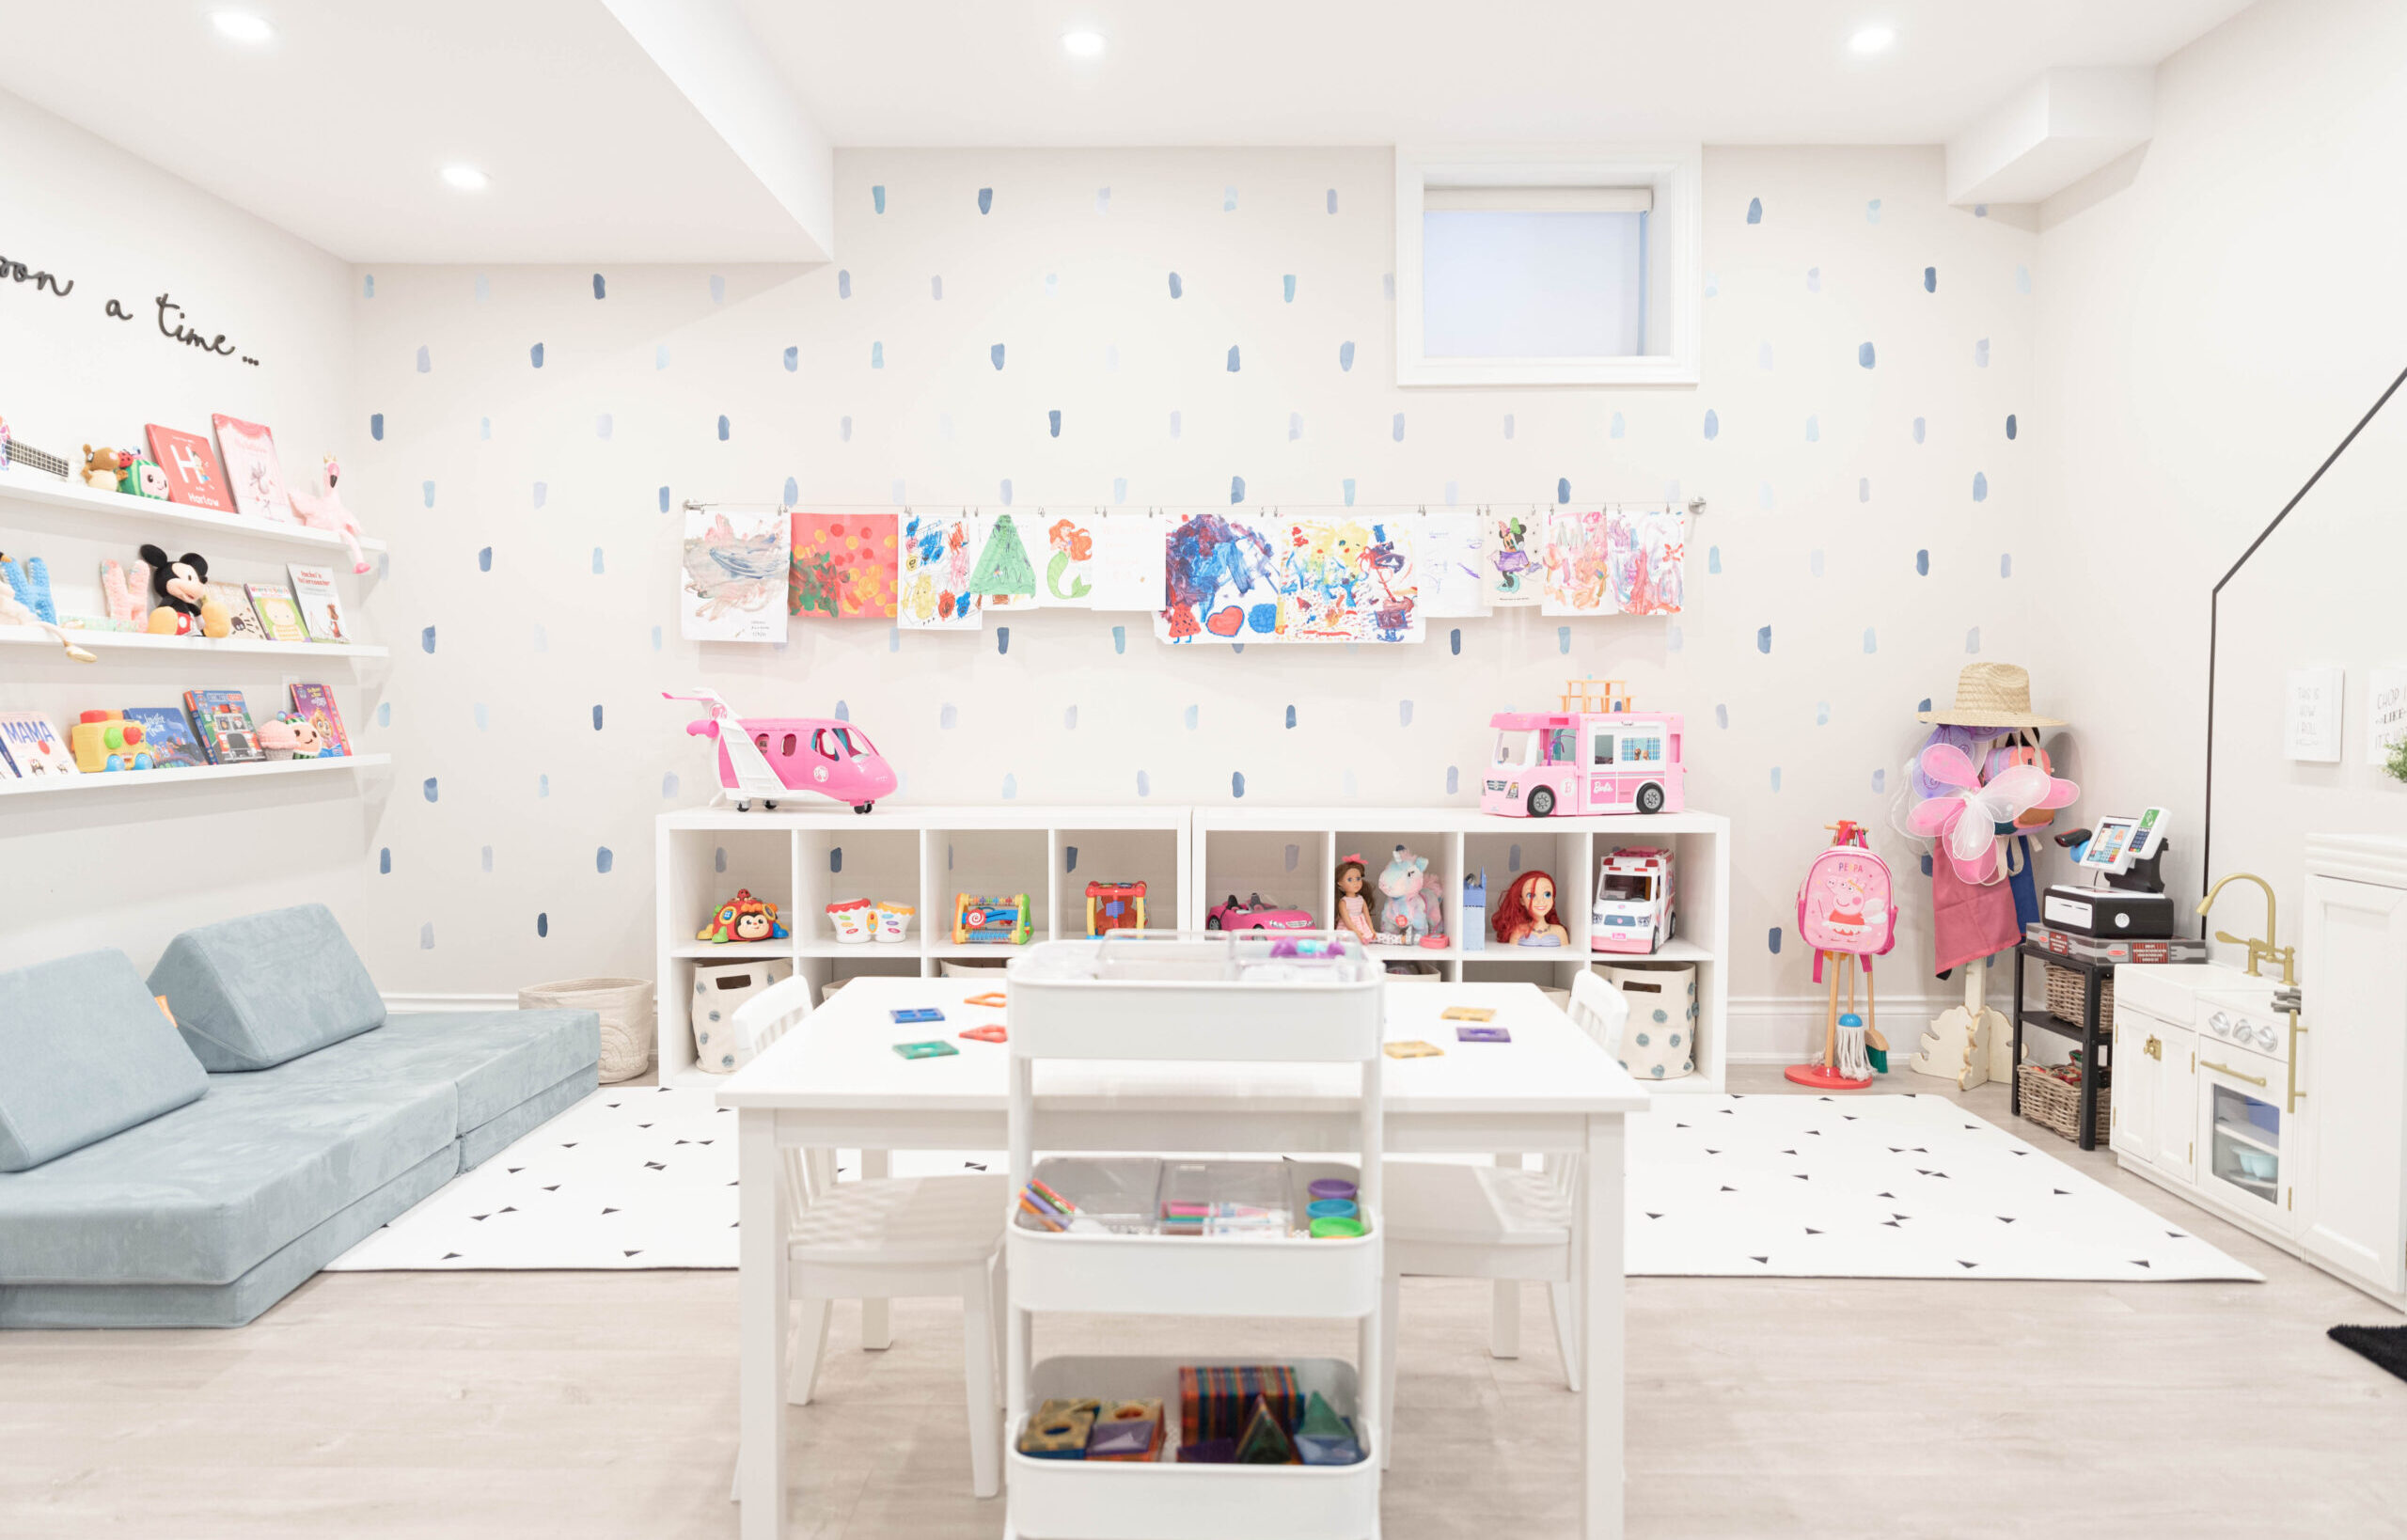


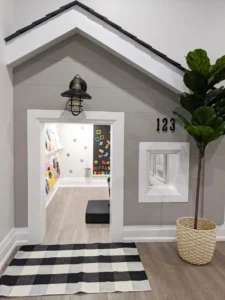
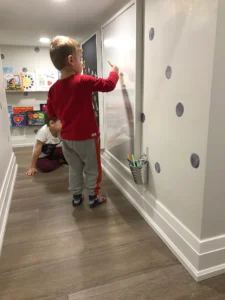
One of the most asked questions I get as a Children’s Playroom Designer is how we make our chalkboards and whiteboards. If you are thinking of adding one to your child’s space, this will be the easiest DIY that you do and all of the products are available online with delivery! I designed this setup under our stairs when we renovated our basement. The final touches including our chalkboard and white board were the perfect touch for our little nook!
Crafting the Magnetic Chalkboard
I purchased two of these 24 x 35 3/4 Ribba Picture Frames from Ikea. One for a magnetic chalk board and one for a white board.
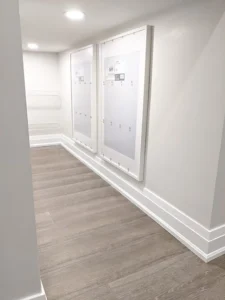
For the magnetic chalkboard, we used 3 coats of magnetic paint
Be sure to remove the plastic film covering and use a foam roller to paint each coat right onto the plastic “glass” part of the frame. It dries to the touch in 30 minutes after 30 minutes apply the second coat. For best results apply three thin coats.
Creating the Chalkboard Surface
Once all three coats are complete, the next step is to apply two thin coats of the chalkboard paint Again using a foam roller that provides a smooth finish. Chalkboard paint comes in a variety of colours, but I prefer black as magnets tend to eventually scratch the surface.

you have to do is paint the backing (cardboard part) white. It is seriously that easy! (Unfortunately I don’t have any pictures) The plastic “glass” part of the frame now becomes the surface that children write and draw on! Regular Crayola markers or white board markers work great and are easy to wash off.
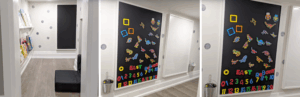
Benefits of Vertical Learning Spaces
I always include some type of vertical learning space in all of my playroom designs. First off, why not use the wall space?! Secondly, I truly believe that how we set up the environment and what we display on the walls inspires children to be creative and engaged in the learning process.
Exploring the Advantages
A few more benefits: – spatial awareness – fine motor and gross motor skills – brain development – eye hand coordination – strength and flexibility – proprioception skills
Future Vertical Learning Inspirations
I will share some more of my favourite vertical learning spaces from my previous playroom designs soon. In the mean time, tag me on Instagram if you try either one of these DIY projects @be.in.wonder.design 🙂
With love,
Vanessa
xo
Also, full disclosure that I receive a small commission from any purchases made through my Amazon Storefront. I have put many hours into setting it up and truly hope that you find it helpful! None of the links are sponsored. All opinions and product suggestions are 100% authentically mine… just doing and sharing what I love with love.